Tuesday, February 26, 2013

Cleansing

Cleansing is where it all starts. Your skin doesn't need to be "squeaky clean" or "deep cleansed" everyday. So changing your thinking about cleansing can change your skin. The majority of my clients are using a harsh cleanser that is stripping their skin and creating more problems than fixing. Everyone's pH balance is a little different, but it's slightly acidic. When a cleanser strips the pores of their natural oil, the skin fights back by producing more oil. It wants to fix itself. This causes all sorts of problems with hydration. People can feel tight and flaky and still get oily in the middle of the day.

Tune into your skin and pay attention to how it feels after cleansing. Does it feel tight, like you need to immediately apply moisturizer after rinsing? Does it feel like there's a film covering the surface? It's time for a new cleanser. Everyone's skin is different, but the perfect cleanser is one that leaves your skin feeling soft and hydrated. Cleansers also don't have to be expensive. Save your cash for eye creams and serums.

Some of my favorites are:

Cerave hydrating facial wash

302 sensitive cleanser Rx


Thursday, February 21, 2013

Chevron painting


So chevron is kinda a big deal right now. Super easy pattern to paint too! So I wanted some blue sparkly chevron goodness to go over my bed. I'm also on a pretty tight budget, so I wanted it to be cheap. :) So I bought a really inexpensive canvas at the Hob, my favorite craft store, and I measured out how big I wanted my stripes to be. I wanted some chunky big stripes, and I wanted them to be three columns across. Cue some math... And some erasing... And I had my lines drawn! Then I started taping off the edges with plain old blue painters tape.


I had bought a gallon of this gorgeous blue paint for a wall in this apartment that I had painted when I moved in, and I had some extra! If not, I probably would have used acrylic paint. Now I will share a crucial step that I completely skipped... Before you paint the dark color (in my case navy blue) paint the other color over the edge of the tape (in my case white) so that it bleeds under the tape instead of the dark color.... If you're a perfectionist, this is a huge deal... So when I was finished painting, while it was still wet, I sprinkled a little glitter over it. Because, who doesn't need more sparkle in their life? I'll try to take a better close up so you can see it. 


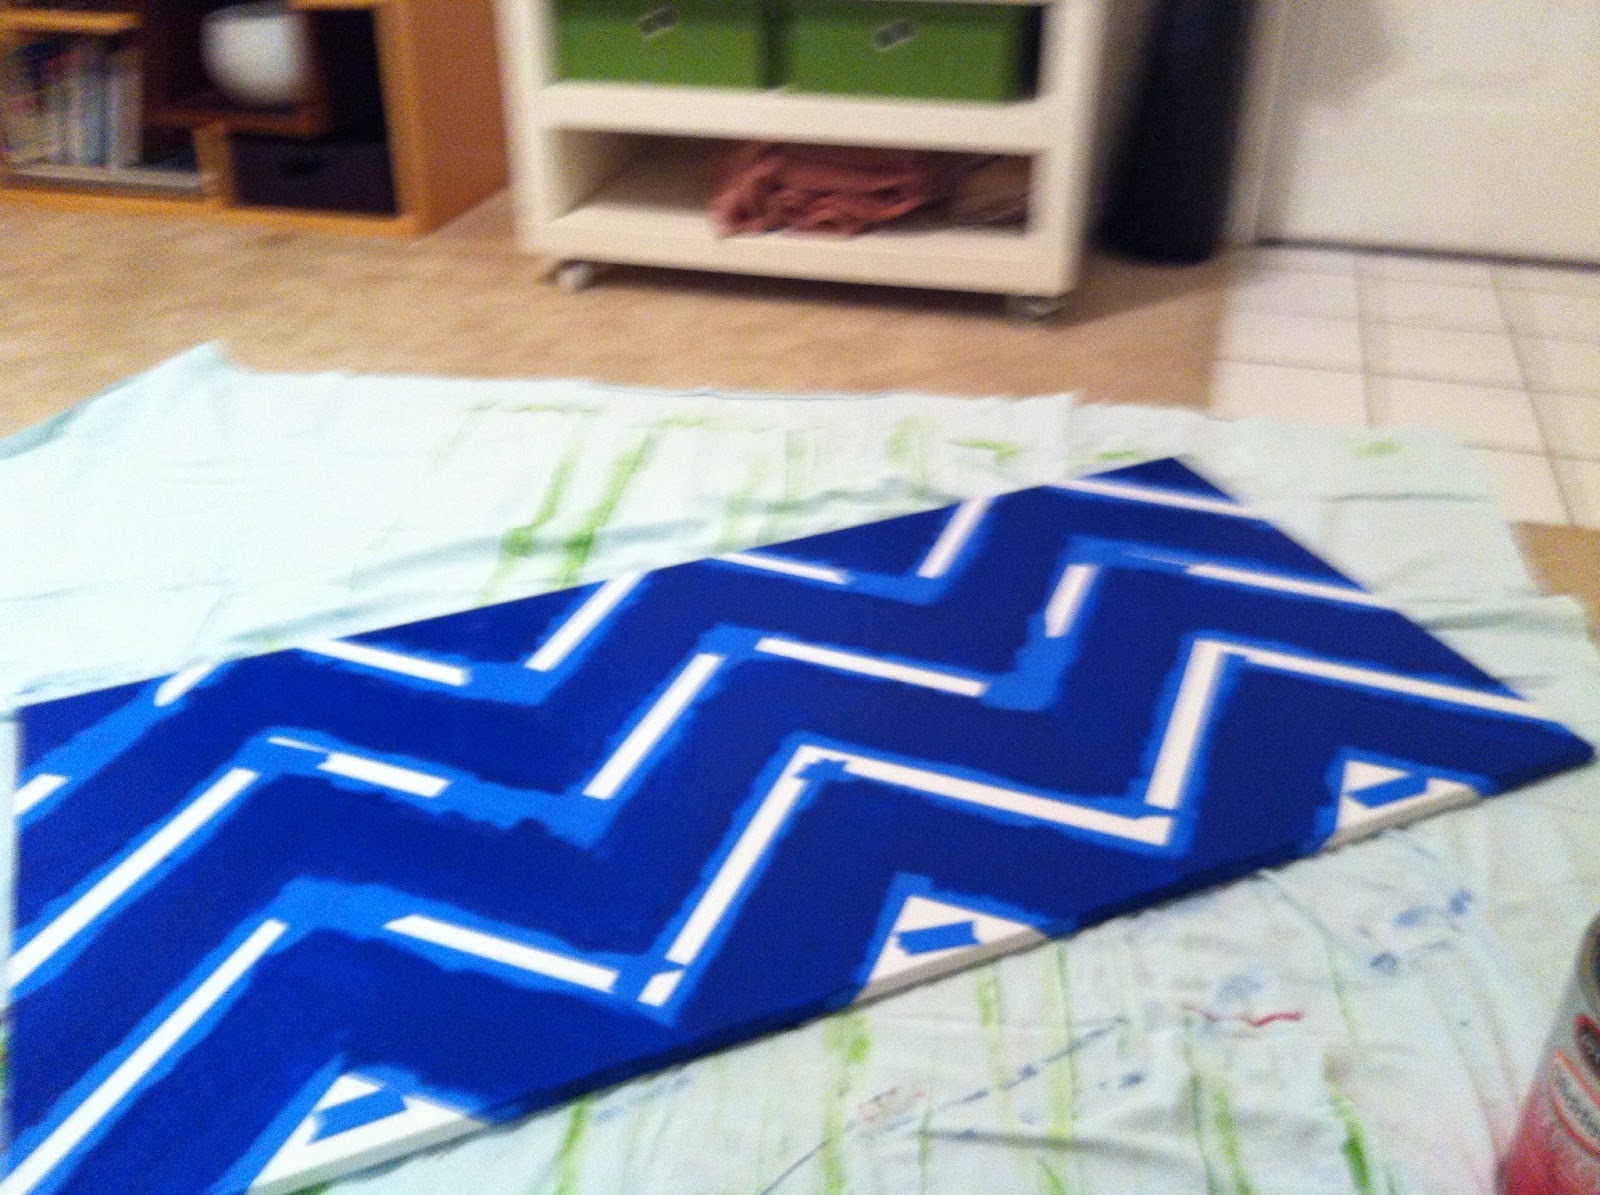
I am still pretty happy with my results, but the edges are definitely blurry! Maybe I'll pretend they're supposed to be that way... 


New living room design ideas


So I'm moving soon into an adorable nearly 100 year old house and I am so excited to decorate it! In honor of Pantone's color of the year for 2013, I want emerald to be featured strongly in the living room.

Probably in the form of curtains, with a bold pattern? There's tons of windows, so tons of curtains! I'm going to spend a fortune on fabric this year... Also I'd like to recover some old pillows I've had, or maybe splurge and actually buy new ones! I'm thinking of an accent color now to blend the emerald with my greys and whites... Here's my brainstorm in pictures...


I like this pattern! Morrocan!


I've always wanted to paint something Rothko-esque... LOVE his work!
Stand by for a possible tutorial ;)


I'm liking gold as an accent. What do you think?

Monday, February 4, 2013

Jewelry mirror

Today I was feeling like I had to let the creative juices flow. I've had the STAVE hinged wall mirror from IKEA for a few years, and at a previous apartment I had put pushpins in the wall behind it for jewelry. Well seeing as how I move constantly, I decided it would be more beneficial for me to install more permanent and more aesthetically pleasing hooks to the back of the mirror! Hence my first bloggable project :)
STAVE mirror, IKEA $39.99
So I decided to line the back with a black suede fabric to cover the plain white backing. And conveniently enough, I had some extra fabric just laying around! To prepare, I painted the raw wood support slats black and then painted around the perimeter just in case my fabric placement wasn't perfect.

I attached the fabric with spray adhesive, and smoothed out any air bubbles with my hands.
I found wooden rods from Hobby Lobby (the Hob) and a fun metallic paint color to make them pop against the black suede! I cut them with my handy dandy saw kit from IKEA.
The search for hooks went on for awhile, and I finally found a set of 100 from Home Depot for like $5. I measured and predrilled holes in the rods so that I wouldn't kill my hands when I twisted the hooks in. I made the earring and necklace hooks 2 inches apart, and I made one row 3 inches apart for bracelets. I scored the sides of the mirror with a white pencil and glued the rods on with plain old Elmer's glue-all. 

Here's the finished product! I'll take a nicer picture once I move and get it hung!